
Welcome to the first of two egg segments on egg art. It’s very inexpensive and they are great family projects. The first will be making a checker board out of egg shells. You can simply break and wash the egg shells or blow them out to keep the shell whole. I prefer to blow them out if I have to spray paint them and break them when I decide to use the natural egg color.
Blowing egg shells out is easy but kind of gross. Don’t worry, it only takes a minute! You make a hole in the top and bottom on the egg without breaking it with a gentle tap from a fork prong or other small sharp object. Then you blow on one side and the egg with come out of the other. Make sure you have a bowl or other container ready to catch the egg. After you have blown the egg out you run some warm water through it and let dry.
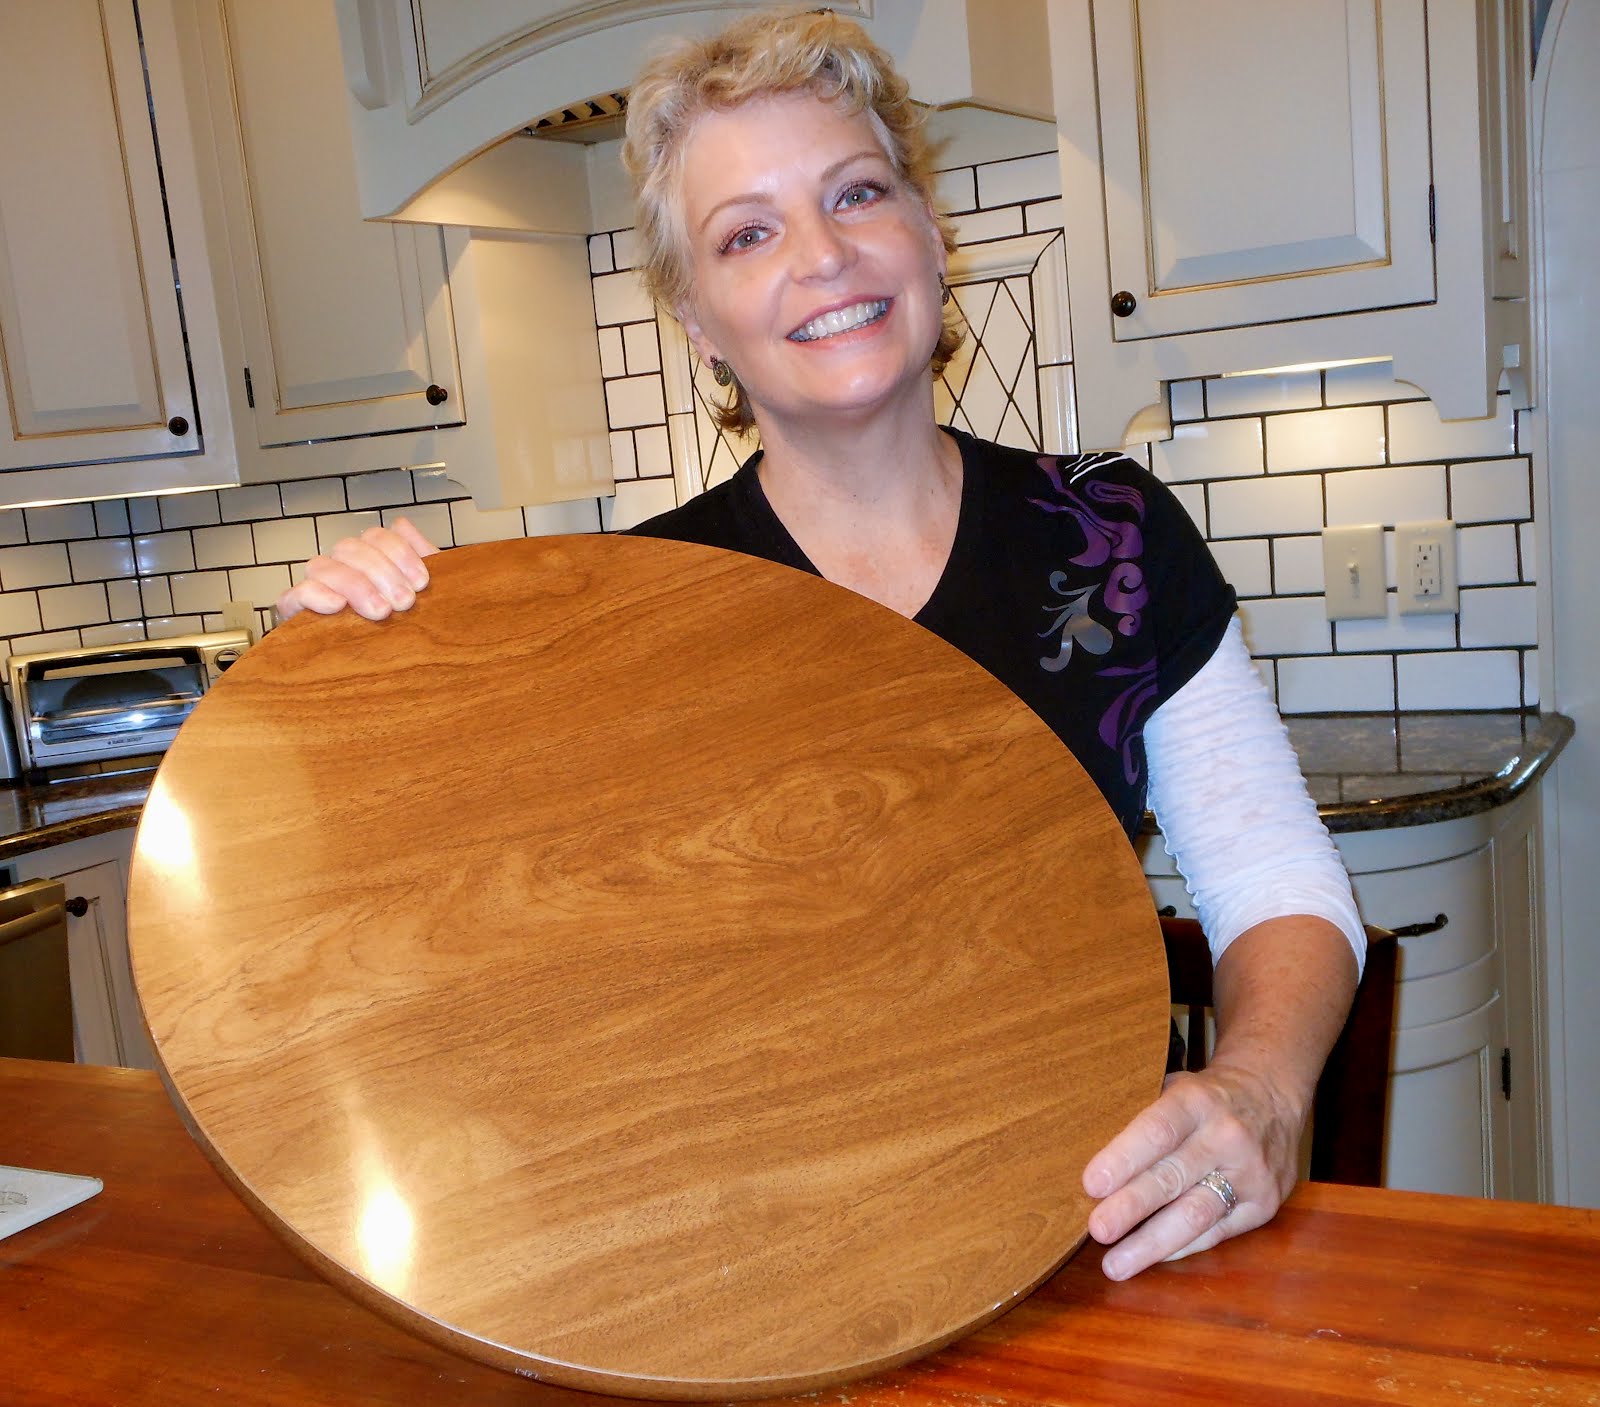
I love using a Lazy Susan for this project and I find them at thrift stores or garage sales. You can use any flat surfaced object that you have around. An old cutting board or table is fine. I sprayed this one with Kiltz stain blocker first then coated the whole thing with red paint. Unfortunately the painted crinkled so I simply removed the shiny veneer and sprayed the ply wood base instead. It works. Then I drew a checker board pattern first in pencil and then with a fine tip permanent marker. This will get covered up later.

I cracked some eggs for the white squares and blew out some eggs to spray paint black for the other squares. Now I’m ready to work.
You’ll need an X-acto knife or other shape object and some Elmers glue. Place a small amount of glue on the first square. Next, take a small amount of shell and break it up with the X-acto onto the Elmers glue. Fit the pieces into the square and continue until the square is filled with white egg shell. I prefer to line the perimeter of the square first and work from the outside in. Continue on with the black colored egg shell using the same technique and making sure you keep with the checker board pattern.

I made a checker board with my daughter a few years ago. This is not a hurry up and get it done project. It will take you a while but it’s unique and beautiful and inexpensive. It’s Eggsactly the perfect project for you and your family.
No comments:
Post a Comment